Claude Managed Agents + N8N: Full Production Tutorial
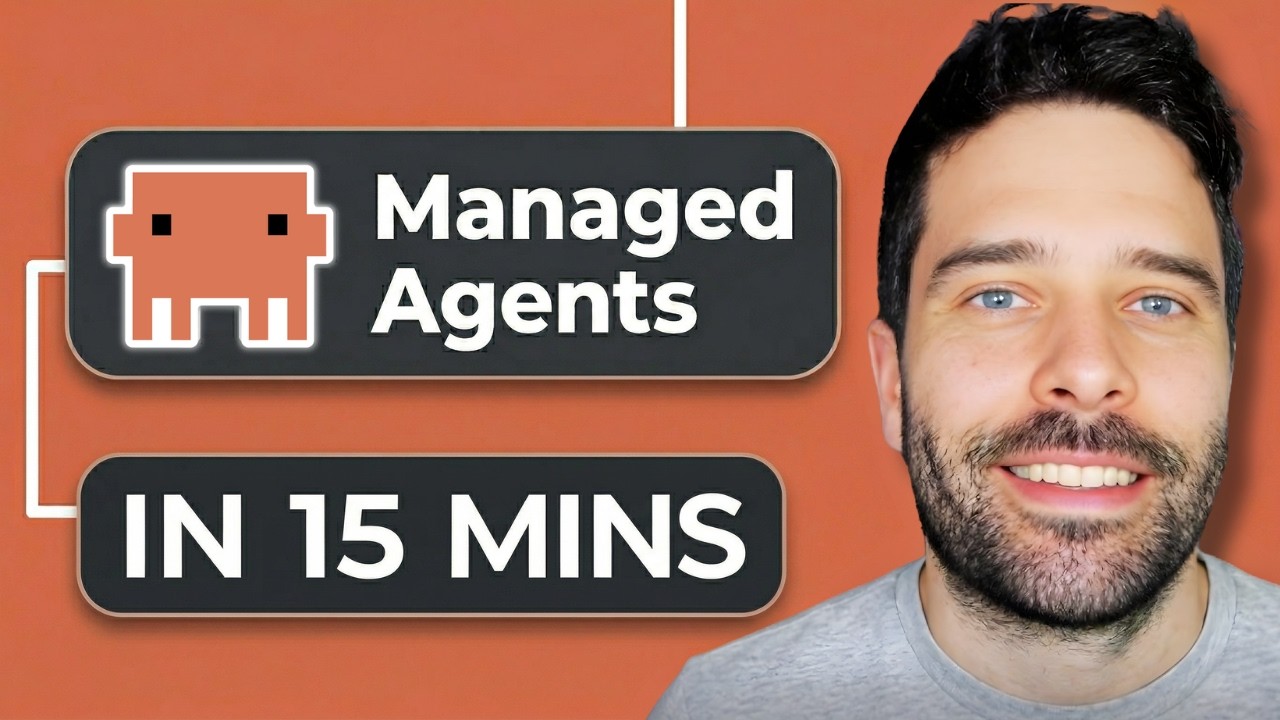
Bart Slodyczka walks through the complete Claude Managed Agents workflow: building a customer support chatbot in the console, testing it with the built-in testing panel, and deploying it as a live service using N8N as the frontend. The tutorial covers the four API calls required for N8N integration, session management across multiple customers, credential vault setup, and environment configuration.
"Claude Managed Agents Full Tutorial: How to Setup Your First AI Agent" by Bart Slodyczka — Watch on YouTube →
Key Takeaways
- Managed agents use API credits, not Claude subscriptions — billed at $0.08 per session hour, but only while the agent is actively running. Idle time waiting for user replies costs nothing.
- Sessions provide isolation: create one session per customer conversation. Each session holds the full conversation context privately. One agent can serve unlimited concurrent customers this way.
- N8N integration requires 4 API calls in sequence: (1) create session, (2) send message with the customer's text, (3) wait ~15 seconds for processing, (4) list all session messages and extract the latest agent response.
- Store OAuth credentials (ClickUp, Slack, etc.) in the Credential Vault — vault IDs are passed when creating sessions, so the agent can use your connected tools without credentials appearing in the prompt.
- Set network access to Limited and restrict domains when your agent only needs to access specific URLs (e.g., your own product site for FAQ lookups). This improves security and is Anthropic's recommended default.
The N8N Integration Pattern
The core workflow Bart builds routes N8N's native web chat interface through the Claude Managed Agents API:
- Check session database: On each incoming message, look up whether the N8N session ID maps to an existing Claude session ID in your database (SQLite works fine).
- New conversation: If no mapping exists, call the
POST /agents/{agent_id}/sessionsendpoint with your agent ID, environment ID, and vault ID. Store the returned Claude session ID against the N8N session ID. - Existing conversation: If a mapping exists, skip session creation and use the stored Claude session ID directly.
- Send message: Call
POST /sessions/{session_id}/messageswith the user's text as the message body. - Wait and retrieve: Wait ~15 seconds (production systems should use a proper polling loop), then call
GET /sessions/{session_id}/eventsto list all messages. Extract the most recent agent response and return it to the user.
The N8N workflow Bart builds is 10 nodes total. Once session creation is wired up, the existing and new session paths share the same send/wait/retrieve nodes.
Agent Configuration Concepts
Managed agents in the console have four configuration objects to understand:
- Agent: The system prompt, model choice, skills, and MCP server connections. You can have multiple agents for different use cases (customer support, invoice processing, competitor research).
- Environment: The cloud container configuration — network access rules, installed packages, environment variables. One environment can be shared across multiple agents or kept dedicated per agent.
- Session: A single conversation thread. Sessions are the unit of billing; they start running when you send a message and go idle when the agent finishes. Each customer or task run gets its own session.
- Credential Vault: Stores OAuth connections (ClickUp, Slack, GitHub, etc.) that can be shared across agents and team members. Pass vault IDs when creating sessions to give agents access to your connected tools.
Related on OpenClawDatabase
- Claude Cowork Setup Guide — getting started with Claude's official agent interface
- Claude Managed Agents Reviewed — Nate Herk's honest assessment of what managed agents do and don't do well
- OpenClaw Guide — alternative agent runtime for more self-hosted control
What you can actually set up from this
Extracted from the video's own transcript — the specifics the original summary left out.
Configuration shown
Create-session request body — the three IDs that matter
{
  "agent_id":       "<which agent — e.g. the customer support bot>",
  "environment_id": "<which container, with its tools and network policy>",
  "vault_ids":      ["<credential grant, e.g. the ClickUp OAuth>"]
}
Template shown in the video. Adapt to your project — do not copy verbatim without reviewing each line.
Reproducible steps
- Create the agent in the Claude console
Go to platform.claude.com and add credits. You can start from a template, from a clean slate, or by describing what you want to the assistant — e.g. a customer-support bot for one domain that answers FAQs, troubleshoots, and raises a task in ClickUp when it cannot fix the problem or the customer asks for escalation.
- Configure the environment
The environment is the cloud container configuration the agent runs inside — the room it works in, with its tools and files. Set network access here; the walkthrough restricts web search to a single domain rather than leaving it open.
- Authorise tools in the credentials vault
The session will not start until outstanding MCP authentication is done. ClickUp is connected via OAuth, after which it appears in the credentials vault and can be referenced by ID.
- Test in the console before wiring anything up
The right-hand testing panel accumulates the session; the left shows a play-by-play. Use the debug section to confirm a tool call actually fired and returned success, then verify the side effect in the target system (the ClickUp task really appears).
- Map n8n sessions to Claude sessions
The database layer holds exactly two fields: the n8n user session ID and the Claude session ID. On each inbound message, look up whether that user session already has a Claude session. If not, create one; if so, append to it. This is what keeps each customer's context private to that customer.
- Create session, send message, wait, list messages
Four API calls. Create a session (JSON body needs the agent ID, the environment ID, and the vault IDs for any authorised tools), send the message in, wait for Claude to execute tool calls and generate, then list the session's messages and take the most recent agent message to display. The whole integration is about ten nodes.
- Deploy
Publish the workflow, open the chat node, copy its URL and use it in a browser. Only the create-session call needs editing per agent — everything downstream carries through from the stored session ID.
Gotchas
- Managed agents do NOT run on your Pro or Max subscription. They bill against API tokens on the account's credits, which is why you must add credits before starting.
- There is a second charge on top of tokens: $0.08 per session hour, billed only while the agent is actually running. Idle time between messages is free — a 2 minute 28 second gap in the walkthrough is shown as idle and uncharged.
- The default model at the time of recording is Sonnet 4.6, and the video notes this may change — check it rather than assuming.
- The 15-second wait node is explicitly called out by the author as NOT production ready. Real tasks can take minutes, so a fixed sleep will silently truncate them. Replace it with a polling loop before shipping.
- Prefer one environment per agent (separation of concerns) rather than sharing one environment across several agents.
- Sessions are the unit of isolation: one agent, many sessions — one per customer, per invoice, or per day. Reuse the agent, never the session.
More Claude Cowork news
 The Overnight Agent Loop: How a CTO Ships 2–10 PRs a Week
 Claude Managed Agents: three primitives for production agent infrastructure
 Claude Cowork Is a Game Changer — If You Use It Correctly
 12 Claude CoWork Skills That Save 10+ Hours a Week
 Build a Live Data Dashboard in Claude Cowork in Under 3 Minutes
 Claude Managed Agents Add Dreaming, Outcomes, and Multi-Agent Orchestration
← Back to News digest · See also: Claude Cowork guide